PERMISSIONS Administrator or Super Administrator privileges in Workplace
NAVIGATION Workplace Online > Configuration > Team Settings > add the Workplace v10 Storage Settings policy to a policy profile or enable the Workplace v10 Storage Settings policy in default policies > Save > click Manage link
About the Workplace v10 Storage Settings Policy
This policy allows you to set the location in which v10 stores files, and the maximum amount of storage that can be used by the automatic sync process when a user opens a file. Automatically synced files will be removed from this location when the maximum storage amount is exceeded in the order in which they were opened.
Managing the Cache Location
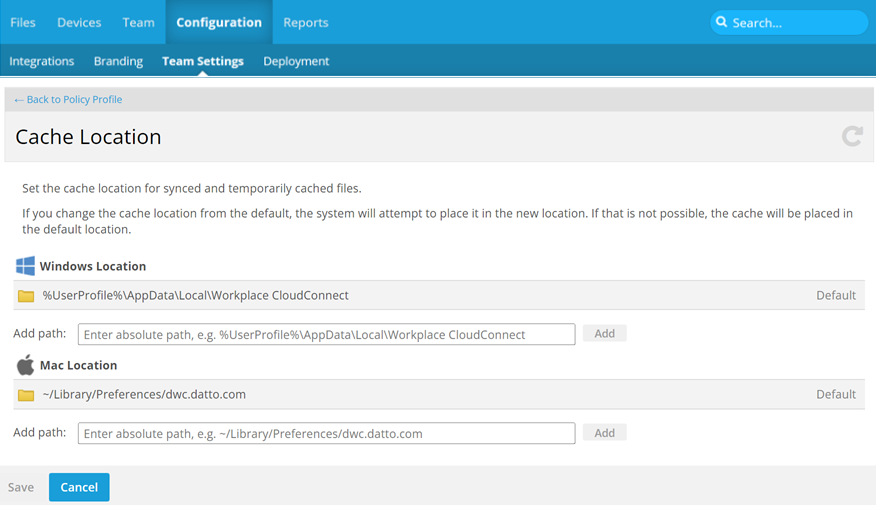
Once the Workplace v10 Storage Settings policy is added to a policy profile, a Manage link appears next to the policy. Click it to designate the location for synced and temporarily stored files on the Cache Location page:
Path considerations
IMPORTANT When adding a new path, please use only internal drives. Unexpected unmount of external drives can cause issues if they're used as cache locations.
- You can change the cache location from the default by creating one additional path.
-
If you change the cache location from the default, the system will attempt to place it in the new location. If that is not possible, the cache will be placed in the default location.
- The path(s) are validated by Workplace. If the path(s) are found to be invalid, the default cache location will be used.
- The default location for the Workplace cache cannot be changed. If no other valid path is provided, the cache will reside in the user profile.
- In order for an alternative path to be valid:
- The OS user under which Workplace for Windows and Mac is installed must have full permissions to the path.
- The final folder in the path must not exist or be empty.
- Users will still be able to change their own cache location unless you have also enabled theSelect Policiespolicy for them.
How to...
- Enter an absolute path.
NOTE Please use only internal drives. Unexpected unmount of external drives can cause issues.
- When your path is complete, click Add.
NOTE You may add only one path.
- Click Save. Your path will be added to the list.
- Click the X icon next to the path you wish to delete.
- Click Save.


