PERMISSIONS Members (limited functionality), Administrators, and Super Administrators
NAVIGATION Workplace Online > Team > Groups
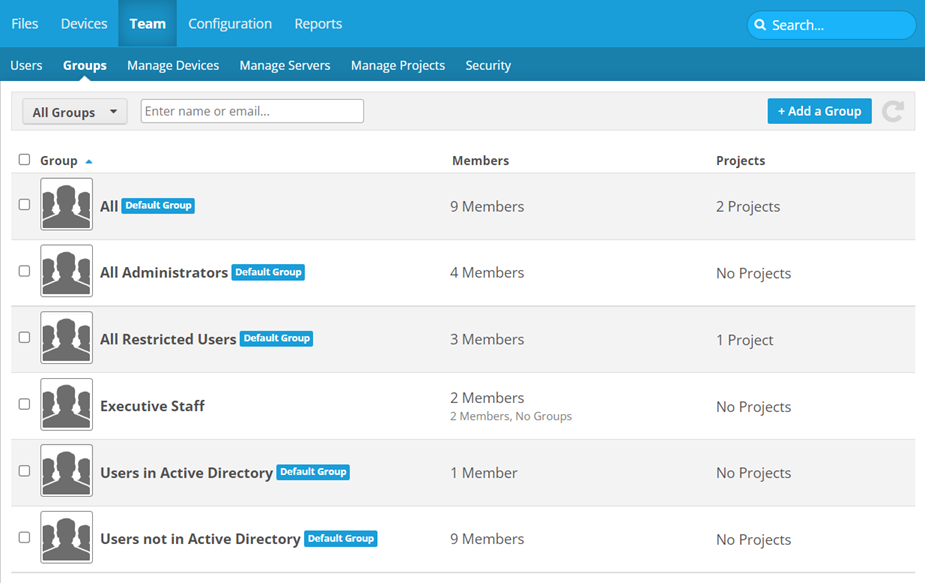
You'll use this page to view and/or manage your team's groups. A group is a collection of users. You can share projects or folders with groups, which makes sharing simpler and more convenient. You can also email an entire group, which streamlines communication.
There are several pre-populated default groups, marked by a  badge, that will help you get started. Membership in these default groups cannot be modified and they cannot be deleted.
TIP If you are using multiple instances of Workplace Server, you can easily distribute projects to all those servers at once by adding them to a group. For more information, please refer to About Workplace Server.
How to...
Click the up or down arrow next to a column heading to sort items in ascending or descending order.
- To filter by group name or email address, use the dropdown menu in the upper left corner of the list. You may select All Groups, Top Groups, Not Empty Groups, or Empty Groups (if Active Directory is enabled, you will see additional options). The list will automatically update.
- To filter by group name, begin typing your query in the Filter field. The list will automatically update.
NOTE To remove a query filter, click the  icon in the Filter field or next to the filter name.
Use the check boxes on the left side of the group list to select more than one group.
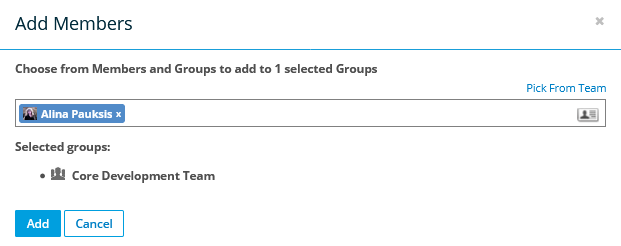
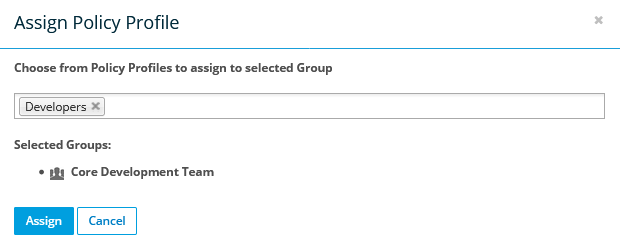
Hover over a group and click ![]() or right-click on a group, then select one of the following options:
or right-click on a group, then select one of the following options:
PERMISSIONS Only available to administrators and super administrators.
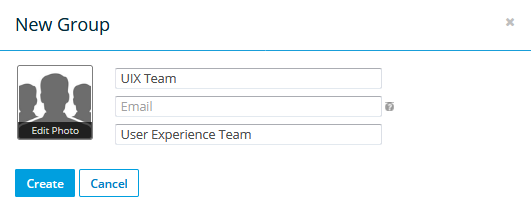
| Field | Description |
| Name* | Enter the name of your new group. |
| If you have a group email (email alias) for this group, enter it here. It will be used for emailing the entire group instead of individual email addresses. | |
| Description | Enter an optional description of the group. |
- Click Create.


