PERMISSIONS Full Access or Team Access
NAVIGATION
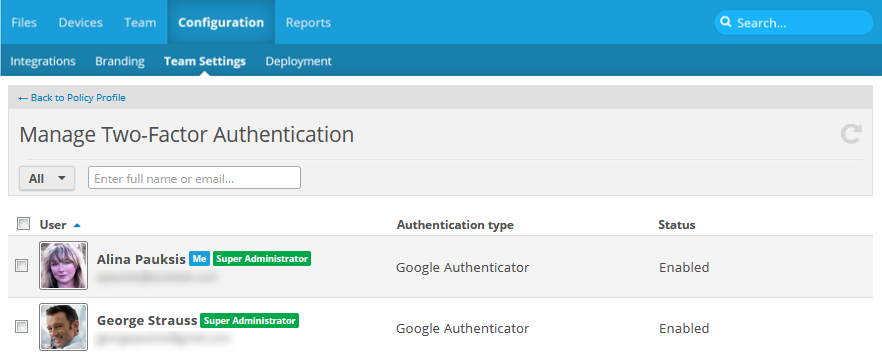
When Two-factor authentication is enabled for your team, this page allows you to disable, enable, or force 2FA for specific users in your team.
How to...
Click the up or down arrow next to a column heading to sort items in ascending or descending order.
- To filter by 2FA status (All, Pending, Enabled, Forced, or Disabled), select an option from the dropdown list.
- To filter by username or email address, begin typing your query in the Filter field. The list will automatically update.
NOTE To remove a filter, click the  icon in the Filter field.
Use the check boxes on the left side of the user list to select more than one user.
- Hover over the user record and click the
 icon, or right-click the user record.
 - Select Disable or Enable.
- Click OK in the warning popup to confirm the action.
- Hover over the user record and click the icon, or right-click the user record.
- Select Force.
IMPORTANT Users with forced 2FA cannot login until they complete the 2FA setup, so please be certain you wish to force 2FA before confirming.
- Click OK in the warning popup to confirm the action.


