PERMISSIONS Super Administrators only.
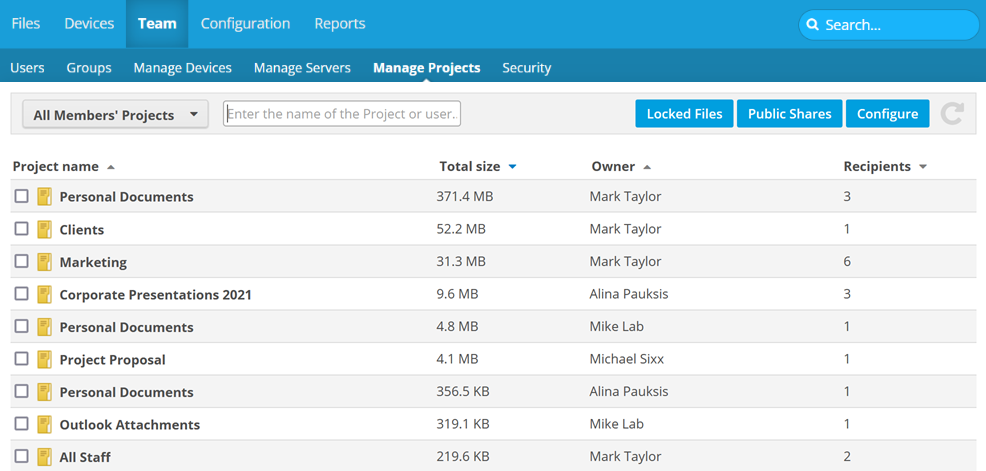
NAVIGATION Workplace Online > Team > Manage Projects
Super Administrators are able to manage all team projects, regardless of whether or not those project have been explicitly shared with them.
IMPORTANT Super Administrators even have access to the Personal Documents folder assigned to every user when they are added to the team.
This page allows super administrators full access to all project management functions. It also provides a quick way to find all items that have been shared publicly, as well as all locked files.
How to...
Click the up or down arrow next to a column heading to sort items in ascending or descending order.
The area above the list allows you to limit the devices displayed:

- To display only all members' projects, all members' deleted projects, projects by active members, projects by deleted members, or projects by group, make a selection from the dropdown menu in the upper left corner of the list.
- To search by project name, begin typing your query in the search field. The list will automatically update. To remove the query, click the
 in the search field
Use the check boxes on the left side of the device list to select more than one device.
Click a project name to open the Project Detail page.
To access all available functions, hover over the item and click the  icon, or right-click the item. Then select one of the options from the resulting menu.
| Menu Item | Sub-Menu Item | Function |
|---|---|---|
| Add Folder | Add a folder to the project. This will open the Create New Folder popup window: Enter the folder name and optionally add a description, then click Create Folder. |
|
| Copy | Copy the item to a different location or to a new project. This will open the Copy Project popup window: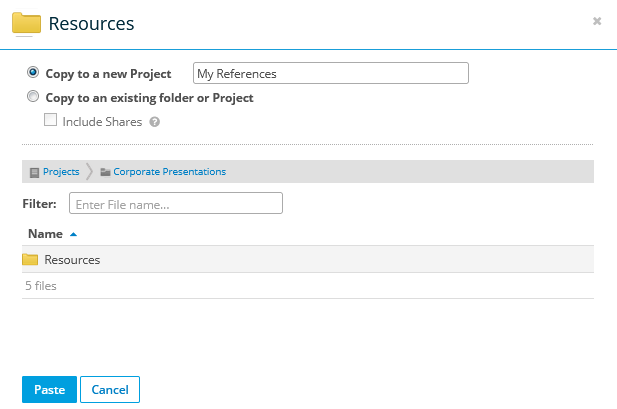 To copy to a new project, select the appropriate radio button, enter the name of the new project, then click Paste. To copy to an existing location, select the appropriate radio button, browse for the new location in the area provided, then click Paste. |
|
| Upload | Upload files or folders to this project. 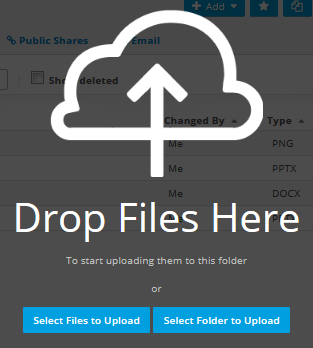 Drag and drop files or folders into the cloud image or click a button to browse for files. Refer to Uploading items to Workplace Online. |
|
| Download | Download |
Download the project to your computer's default download location. NOTE This option is not available for files that have been quarantined as a result of a malware incident. |
| Restore |
Restore this project to a desired location on your desktop or laptop. NOTE This option is not available for files that have been quarantined as a result of a malware incident. |
|
| Manage | Rename | Rename the project . This will open the Rename Project popup window: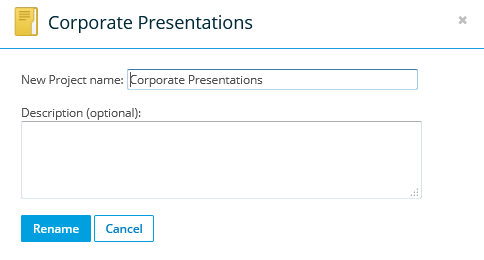 Edit the project name, optionally update the description, then click Rename. |
| Previous Versions | View previous versions of the project. Refer to Previous Versions. | |
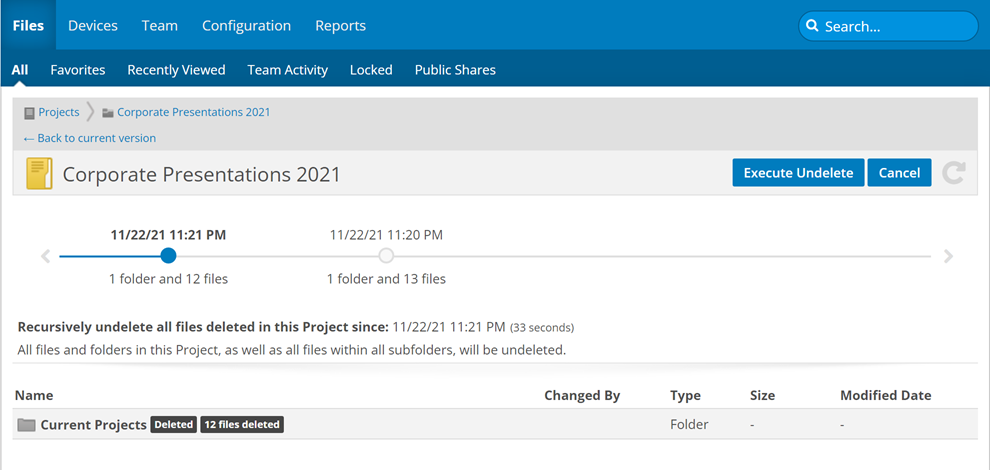
| Recursive Undelete |
If files or folders have been mistakenly deleted and you are the project owner or a Super Administrator, Recursive Undelete allows you to apply a mass undelete to a project or folder, including deleted files within sub-folders, that will reinstate all files deleted since a specified time.
Use the timeline to specify the date and time from which you would like to undo all deletions, then click Execute Undelete. To confirm your action in the resulting popup window, click the Undelete button. NOTE This option is not available for files that have been quarantined as a result of a malware incident. |
|
| Reassign | Reassign the project to another user. This will open the Reassign Project popup window: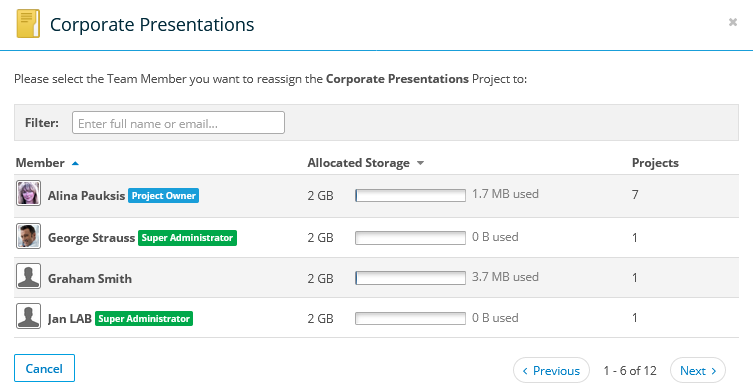 Select the resource. 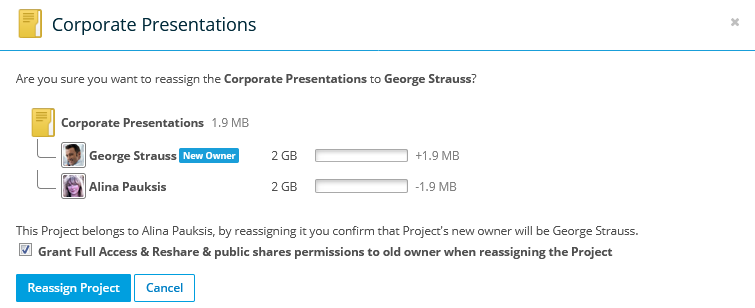 Then optionally select the Grant Full Access & Reshare permissions to old owner when reassigning the project check box, then click Reassign Project. |
|
| Delete | Delete the entire project and all files and folders in the project. This will open the Delete Project popup window: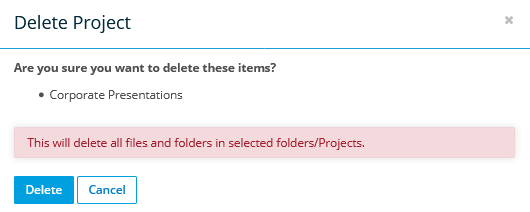 Confirm your action in the Delete Project popup window. BEFORE YOU DELETE a project, please read Deleting and undeleting. |
|
| Comment | Add a project comment. This will open the Add New Comment popup window: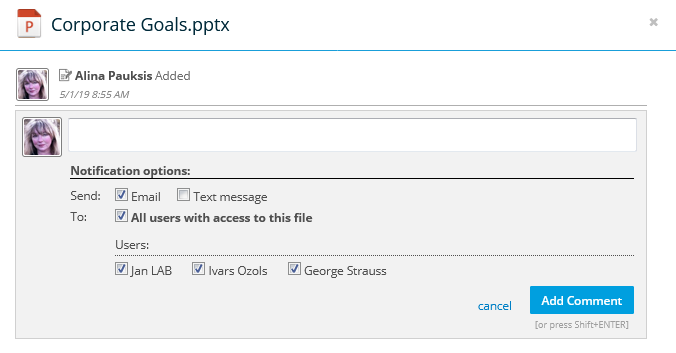 Enter your text, make your notification selections, then click Add Comment (or press Shift + Enter) |
|
| Share |
Team Share This option is only available if you are the project owner or Reshare permissions were granted when the project was shared with you. |
Share the entire project with one or more users. For details, refer to Manage project, folder, and file team shares. |
| Public Share This option is available to project owners and if Reshare permissions were granted when the project was shared with you unless restricted by Policy Profiles |
Create a public share for the project. For details, refer to Managing project, folder, and file public shares. | |
| Send Link | Send a link to the project to one or more recipients. |
NOTE If you enable this setting, your service provider will be able to perform all aspects of project management available on this page.
- Click the Configure button.
-
Toggle the Grant my service provider full access to all Projects in my Workplace team switch.
- Click Confirm.
NOTE All administrators on the team will be automatically sent an email notification of any changes made to this setting.
- Click the Public Shares button. This will open the Manage Public Shares page:
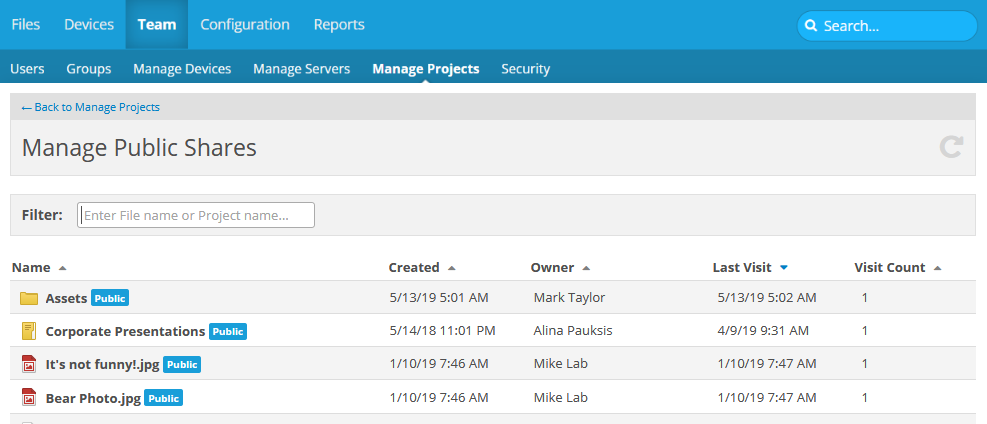
-
On this page, you can perform all public shares management tasks on all public shares created by any user. For more information, please refer to Managing project, folder, and file public shares.
- Click the Locked Files button. This will open the Manage Locked Files page:
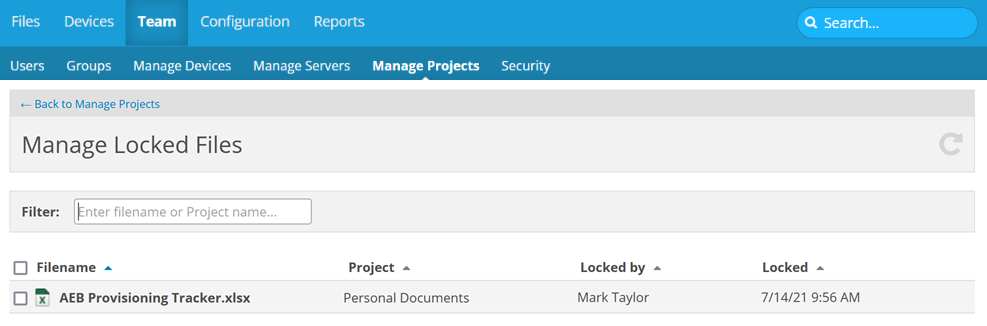
-
On this page, you can perform all standard file functions, or click a file to drill to the file detail page.


