PERMISSIONS Users with full access and reshare permissions for the project or folder
PERMISSIONS Email uploads to a project or folder require that the email address from which the mail is sent is associated with a user who has Create and Modify or Full Access permissions to the files
NAVIGATION Workplace Online > Files > All > click a project > Email
NAVIGATION Workplace Online > Files > All > click a project > click a folder > Email
Files can be automatically uploaded to Workplace by emailing to a project or folder. Additionally, the body of the email can be automatically uploaded when emailing to a project or folder.
NOTE The process described in this topic is appropriate for Workplace users. If you want to allow someone who is not a Workplace user to be able to email items to a project, they can do so using the same email address provided when you enable upload on a public share. Refer to Managing project, folder, and file public shares for more information.
How to...
- Open the detail view of the project or folder for which you wish to enable email uploads.
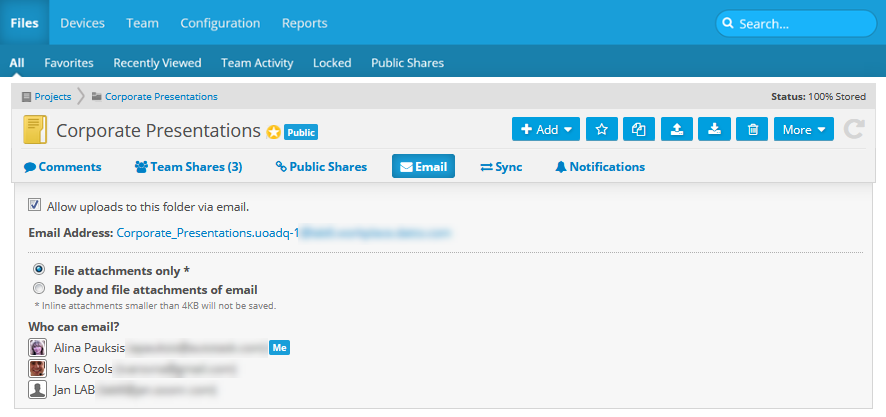
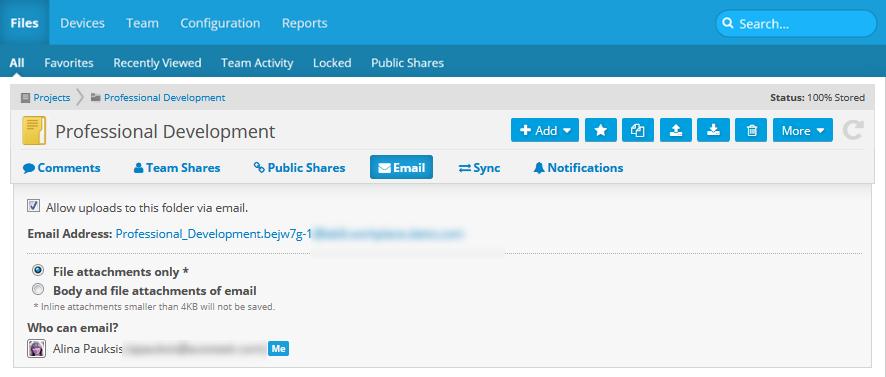
- Click Email. This will expand the Email area:
| Publicly Shared | Not Publicly Shared |
|---|---|

|

|
- Select the Allow uploads to this folder via email check box. An email address will be generated and displayed.
- Select one of the following options:
- File attachments only: File attachments are uploaded to Workplace directly, but any text within the email is discarded. Inline attachments smaller than 4KB will not be saved. The size limit is 25MB per attachment.
- Body and file attachments of email: The entire email is uploaded as an .eml file, including email body and attachments. he size limit is 25MB per attachment.
TIP Be sure to take note of who will be able to upload to this location via email in the Who can email? area.
- Your changes will be saved automatically.
- Open the detail view of the project or folder for which you wish to disable email uploads:
- Click Email. This will expand the Email area:
- Clear the Allow uploads to this folder via email check box.
- Your changes will be saved automatically.
BEFORE YOU BEGIN You must Enable email uploads to a project or folder before proceeding.
- Go to the Project Detail or Folder Detail view for the project or folder to which you want to add a file via email.
- Click Email to expand the Email section.
- Click the email address link to open a message in your default email application.
- Add your file(s) to the email.
IMPORTANT The size limit is 25 MB per attachment.
NOTE Depending on the selection made in Enable email uploads to a project or folder, the body of your email may or may not be uploaded to the project. Attachments will always be uploaded.
- Send your email.


