PERMISSIONS Full Access or Team Access privileges in Workplace Manager
NAVIGATION
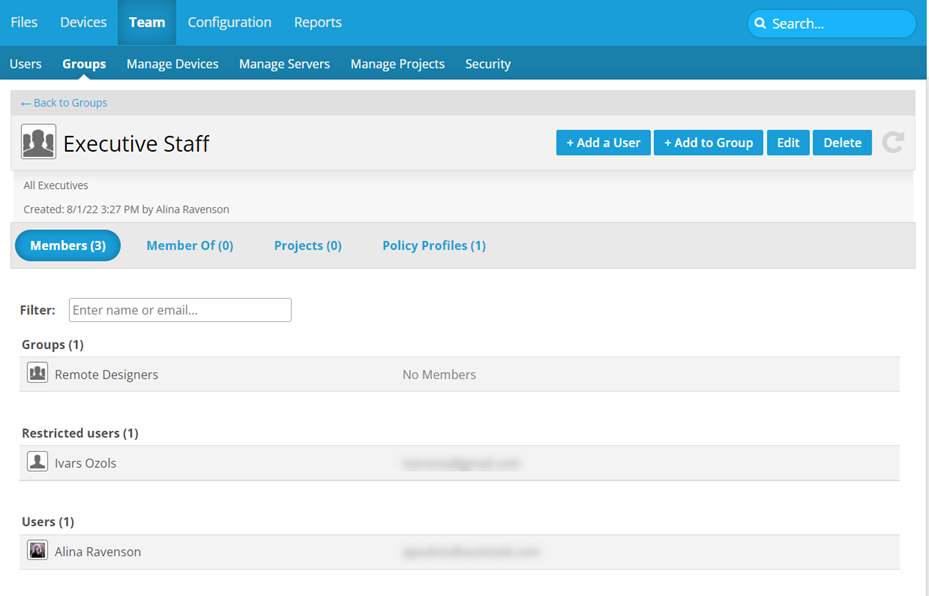
This page displays detailed information about a single group, and allows administrators to perform a variety of functions.
The list in the lower portion of the page displays the group's members, the projects the groups is working on, and the policy profiles assigned to the group.
How to...
PERMISSIONS Only available to administrators.
- Click the Edit button.
- Update group information as necessary.
- Click Update.
- Click the group's email address link.
- A blank message with the recipient field already populated will open in your default email application.
PERMISSIONS Only available to administrators.
NOTE You cannot add users or groups to a default group.
- Click the + Add to Group button. This will open the Add Members popup:
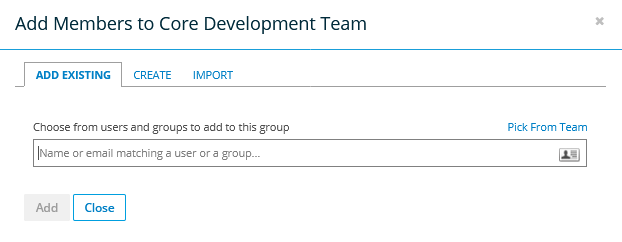
- You have several options for adding users or groups to the group:
- To add existing users, begin typing the name of the person you want to add and select it from the dropdown, or click the
 icon to select the person from your team.
Then click the Add button. - To create a new user or group, click the Create tab, and click one of the options. Then refer to Add a user or Groups for detailed instructions on how to complete the create process.
When you complete the create process, the system will automatically add the user or group to this group. - To import new users, click the Import tab, and click one of the options. Then refer to Import users for detailed instructions on how to complete the import process.
When you complete the import process, the system will automatically add the user or group to this group.
NOTE You cannot exempt a group from individual policies, only policy profiles.
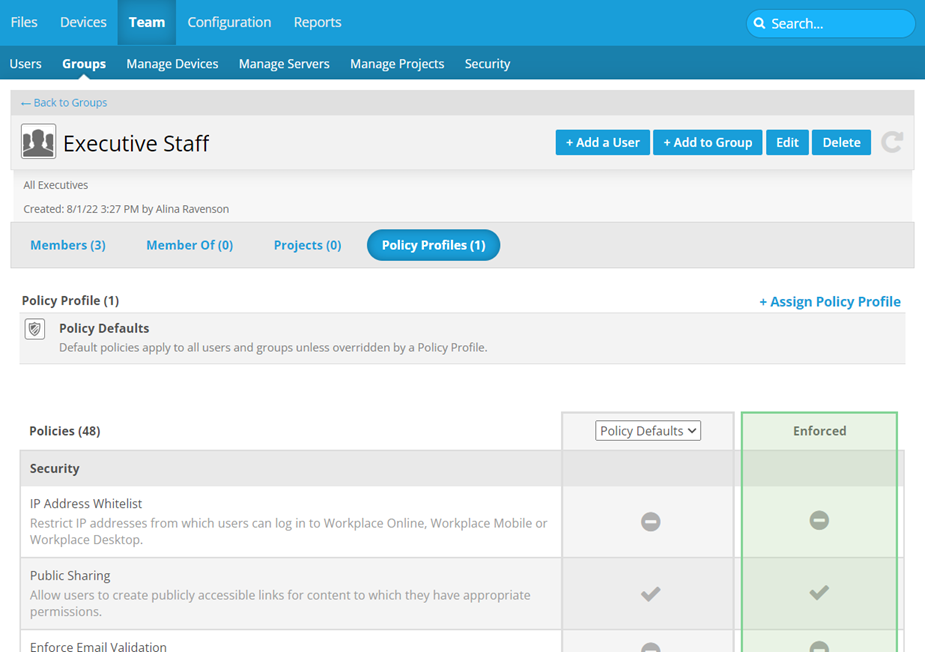
NOTE This view will list the policy profiles currently assigned to the group, as well as a list of all individual policies for any profiles that have been assigned to the group. The first column has a dropdown, which allows you to select from the policies assigned. The second column shows the policies that are actually applied. Use this list to review the currently applied policies before proceeding.
- Click the
 icon corresponding to the policy profile from which you wish to remove the group. This will open the Remove Group From Policy Profile page:
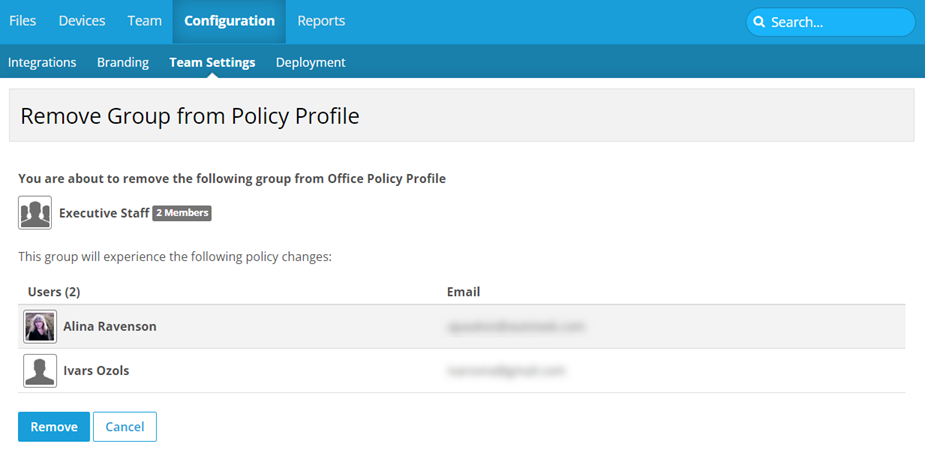
- Click the Remove button.
